Sewing Information, Advice, How-to
Sewing Information, Advice, How-to
**Please scroll down the page for the links to the free patterns**
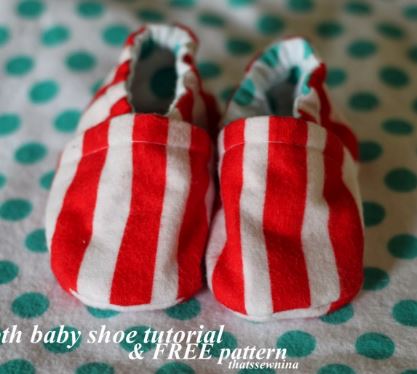
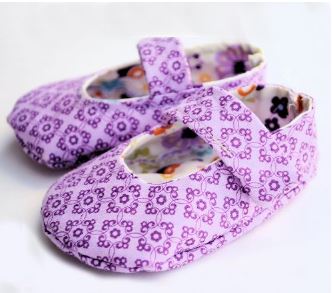
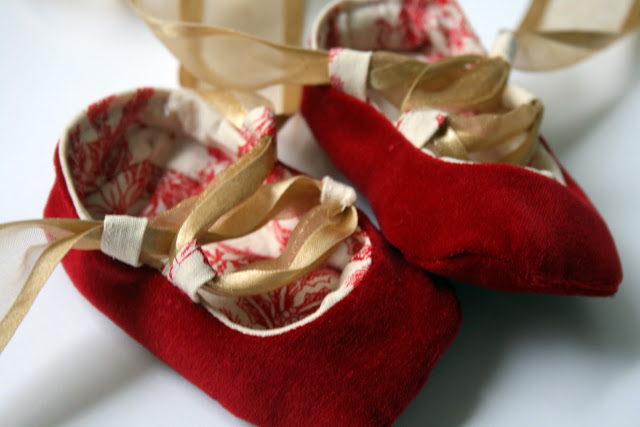
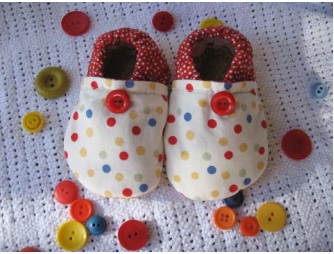
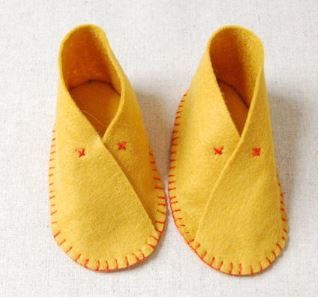
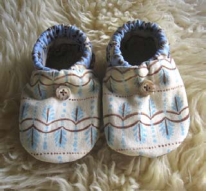
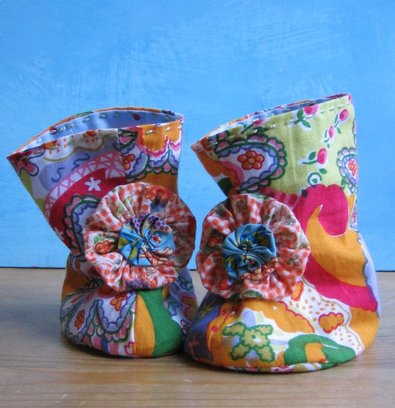
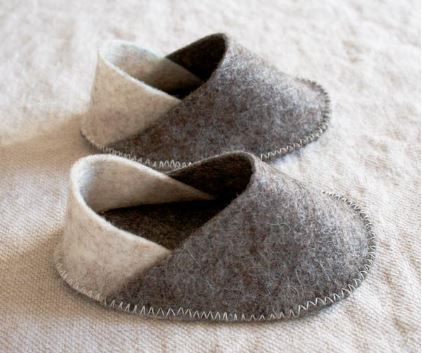
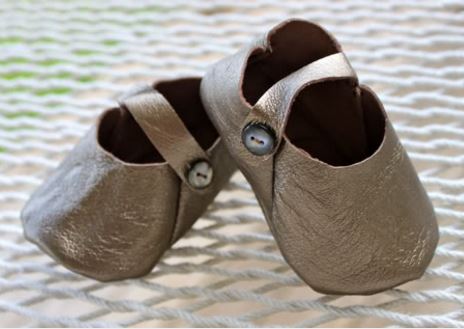
Sew baby booties and shoes with this collection of over sixty adorable free baby bootie & shoe patterns gathered from all over the web.
~Advertisements~
**Please scroll down the page for the links to the free patterns**
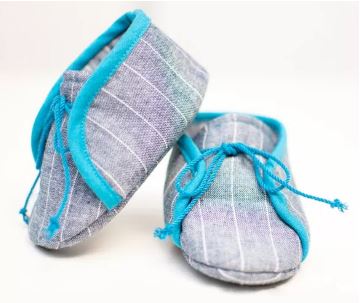
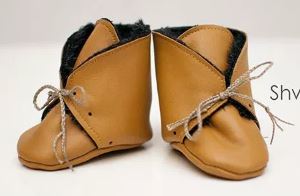
Try whipping up a cute pair of booties for your next baby shower, and have fun embellishing the booties with colorful trims. And if baby is walking, consider making the sole of the bootie or shoe from a non-slip material such as leather. And if you do decide to make your shoes from leather, suede, or vinyl, be sure to use a thicker needle in your sewing machine which will be able to pierce through the thicker leather, suede, or vinyl more easily.
And because they're so small, sewing a pair of fabric baby shoes can be a great way to use up scraps of fabric you may have leftover from other projects. But because the fabric pieces for baby booties are so small, be especially accurate when cutting out your fabric pieces, because a piece that's cut just a little bit off - just inside or outside of the cutting line can greatly affect the size of your finished booties.
~Advertisements~
Please note: Most of the links below will take you to another website.
Also, this page may contain affiliate links, which means I may make a commission if you purchase something from one of these websites (but the patterns linked to should be free).
Advertisement
Advertisement
Advertisement
Advertisement
Advertisement
Advertisement
Advertisement
Advertisement
Advertisement
Advertisement
Advertisement
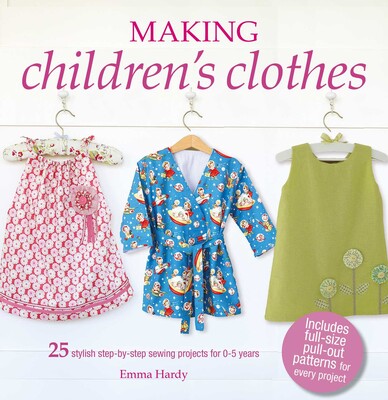
Books from Amazon.com You May Like:
Please note: as an Amazon associate, I may earn a commission from purchases you make on the Amazon.com site.
~Advertisements~
Advertisement